






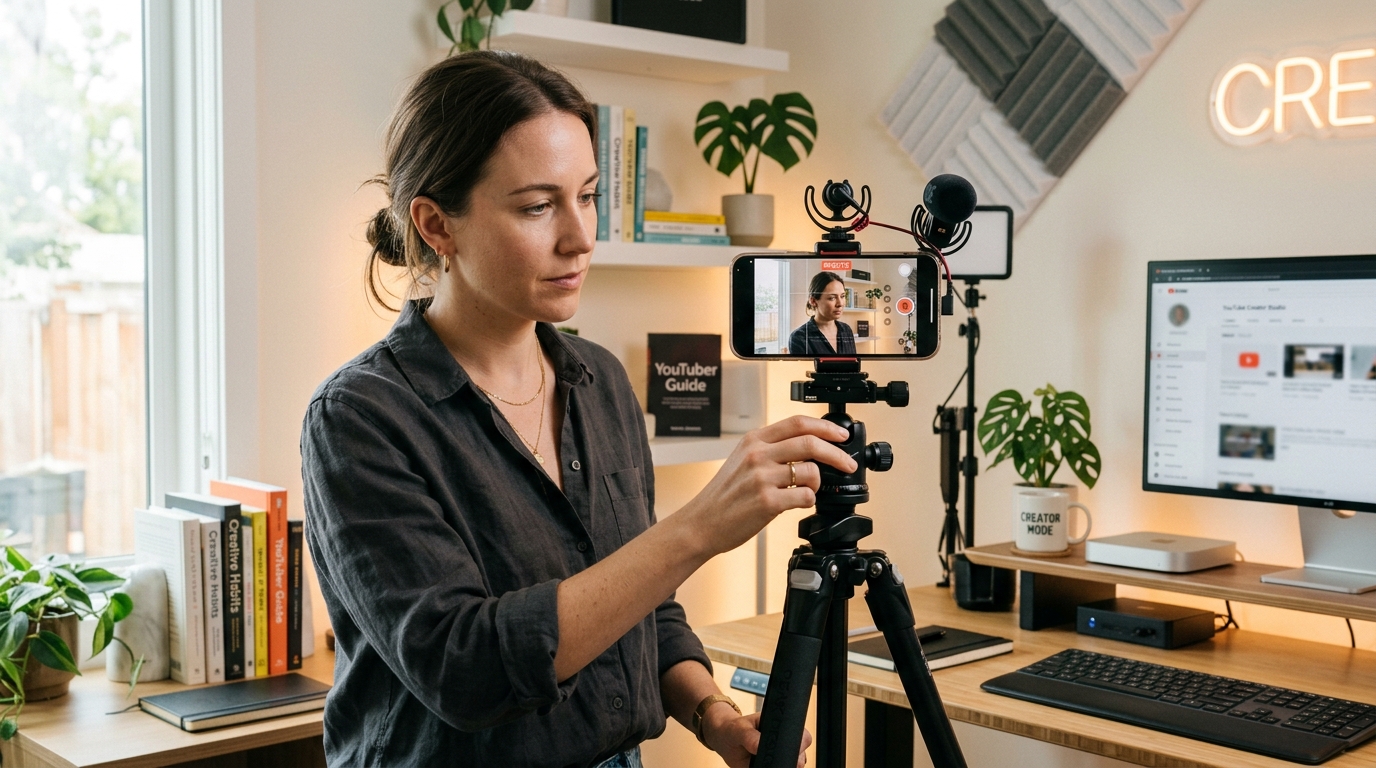
You do not need an expensive camera to create professional-looking content anymore. Some of the highest-performing videos online are still filmed on smartphones. What matters is understanding light, audio, framing, and storytelling better than most beginners do.
I’ve helped creators improve phone footage that originally looked flat, noisy, and amateur simply by fixing lighting and camera handling — without changing the phone itself. In most cases, the biggest quality jump came from technique, not gear.
If you’re starting content creation with a smartphone, these are the practical lessons that consistently make the biggest difference.
Lighting Matters More Than Your Phone
A common beginner mistake is obsessing over camera specs while recording in terrible lighting.
Even flagship phones struggle in bad light because small smartphone sensors produce noise and soft detail when the scene is dark. On the other hand, decent lighting can make an older phone look surprisingly professional.
One of the fastest improvements I ever noticed personally was simply turning away from ceiling lights and facing a window instead. Skin tones looked cleaner immediately, shadows became softer, and the image looked far more cinematic without editing.
What works best:
- Face a window during daytime
- Shoot during golden hour when possible
- Place light slightly above eye level
- Keep the light source in front of you, not behind
If you shoot indoors often, a small LED panel or ring light is usually a better investment than upgrading your phone early.
Always Clean the Lens Before Recording
This sounds basic, but many creators forget it constantly.
I’ve seen people complain that their phone camera “lost quality,” when the issue was just fingerprints on the lens. Smartphone lenses are tiny, so even a small smudge noticeably reduces sharpness and contrast.
Before every shoot:
- Wipe the lens with a microfiber cloth
- Check both front and rear cameras
- Look for fingerprints under direct light
It takes five seconds and genuinely changes image quality.
The Back Camera Is Usually Much Better
Most smartphones prioritize the rear camera system with larger sensors, better stabilization, and stronger low-light performance.
Whenever possible, use the back camera instead of the selfie camera.
One thing many beginners notice after switching is that footage suddenly looks more detailed and natural. Skin texture improves, highlights blow out less aggressively, and background separation looks cleaner.
If you record yourself:
- Use a tripod
- Use Bluetooth controls or a smartwatch preview
- Record test clips before full takes
This is especially important for YouTube or professional brand content.
Stabilization Instantly Changes Perceived Quality
People forgive average resolution much faster than shaky footage.
Some of the most “expensive-looking” smartphone videos online are simply stable and controlled.
When I first started filming movement shots on phones, I made the mistake of walking too quickly. Smartphone stabilization works best with slow, deliberate motion. Once I slowed down movements, footage immediately felt smoother and more cinematic.
Simple ways to stabilize footage:
- Hold the phone with both hands
- Keep elbows tucked close
- Move slowly
- Lean against walls when stationary
- Use a tripod or mini gimbal when possible
Even a cheap tripod dramatically improves professionalism.
Learn Basic Composition Early
Composition separates “someone filming on a phone” from “someone creating intentional content.”
The Rule of Thirds is still one of the easiest improvements beginners can learn.
Most phones already include a camera grid in settings. Turn it on.
Practical framing tips I consistently use:
- Keep eyes near the top third line
- Leave slight headroom
- Simplify the background
- Create distance between subject and background when possible
One mistake I see often is standing directly against a wall. Taking even two steps forward creates depth and improves the image dramatically.
Example of Rule of Thirds framing


Audio Quality Matters More Than Most Creators Realize
Viewers will tolerate average video quality longer than bad audio.
This becomes obvious once you start editing consistently. Slightly soft footage is usable. Echo-heavy or noisy audio often is not.
One of the biggest improvements I ever made to talking-head videos was moving closer to the microphone and turning off nearby fans and AC units. The difference sounded more professional than upgrading cameras.
Easy audio improvements:
- Record in smaller quiet rooms
- Use soft surfaces to reduce echo
- Speak closer to the microphone
- Use wired lav mics when possible
Even budget microphones can outperform built-in phone audio.
Don’t Record Everything in 4K
A lot of beginners assume maximum resolution automatically means better content.
In practice, 4K recording creates larger files, drains battery faster, increases heat, and slows editing workflows.
For daily content, 1080p is usually enough.
What I typically recommend:
- 1080p for regular uploads
- 4K for interviews, travel footage, or cropping flexibility
- 24fps or 30fps for cinematic talking videos
- 60fps only when filming movement or action
Many creators eventually realize workflow speed matters more than technical perfection.
Manual Camera Controls Can Improve Consistency
Automatic smartphone exposure sometimes shifts brightness and white balance unpredictably, especially indoors.
Apps like:
- Blackmagic Camera
- FiLMiC Pro
allow more control over:
- ISO
- shutter speed
- focus
- white balance
Locking exposure and white balance alone can make footage look significantly more professional because the image stops constantly changing mid-shot.
Avoid Heavy Digital Zoom
Digital zoom usually reduces image quality aggressively.
A mistake many beginners make is zooming during recording because it feels convenient. But smartphone digital zoom often introduces softness and unnatural sharpening.
Whenever possible:
- Move physically closer
- Crop later during editing
- Use optical zoom lenses only
The final footage usually looks much cleaner.
Plan Vertical vs Horizontal Before Shooting
Creators often lose usable footage because orientation was an afterthought.
Vertical works best for:
- TikTok
- Instagram Reels
- YouTube Shorts
Horizontal works best for:
- Long-form YouTube
- Interviews
- Tutorials
- Cinematic storytelling
I usually recommend deciding your primary platform before filming instead of trying to crop later.
Simple Editing Usually Performs Better
Over-editing is one of the easiest ways to make beginner content feel artificial.
Clean pacing and clarity matter more than flashy transitions.
What consistently improves videos:
- Removing dead silence
- Slight brightness correction
- Better audio levels
- Subtitles/captions
- Light background music
Popular beginner-friendly editors include:
- CapCut
- VN Video Editor
- Adobe Premiere Rush
The creators who grow fastest usually focus on communication, not effects.
Slow Camera Movement Looks More Cinematic
Most smooth smartphone footage comes from controlled movement, not expensive gear.
Good beginner movements include:
- slow push-ins
- side tracking shots
- reveal shots
- slow orbit shots
The key is moving slower than feels natural.
Examples of cinematic smartphone movement shots


8
Backgrounds Matter More Than People Think
A cluttered background instantly makes content feel less intentional.
Some of the best low-budget setups are extremely simple:
- neutral walls
- soft window light
- shelves
- desk setups
- plants
- practical lights
I’ve seen creators improve perceived production quality just by removing distracting objects behind them.
The viewer’s attention should naturally stay on the subject.
Storytelling Beats Camera Quality
After working with creators across different platforms, one thing becomes very clear:
Good storytelling consistently outperforms expensive gear.
Some creators shoot on flagship phones and still struggle because the content itself lacks:
- strong hooks
- pacing
- emotion
- clarity
- audience connection
Meanwhile, creators with average equipment often grow faster because they communicate better.
Camera quality helps, but audience retention usually depends on storytelling.
Features That Actually Matter in a Creator Phone
Marketing specs can be misleading. The features that consistently affect real-world creator workflows are:
Most useful smartphone camera features:
- Optical image stabilization
- Reliable autofocus
- Strong low-light performance
- Good built-in microphones
- Consistent dynamic range
- Manual/pro camera controls
- Good battery life
- Stable thermal performance during long recording sessions
In real use, reliability matters more than extreme megapixel numbers.
Smartphone creator setup examples


Beginner Workflow I Recommend
A simple repeatable workflow usually works better than overcomplicated setups.
Before recording:
- Clean the lens
- Set lighting first
- Test framing
- Check audio
- Lock focus/exposure if possible
- Record short test clips
After recording:
- Cut unnecessary pauses
- Improve audio levels
- Add captions
- Export correctly for the platform
- Upload consistently
Consistency and communication matter more in the beginning than owning expensive gear.
Most creators improve faster by publishing regularly and reviewing mistakes after every upload rather than waiting for perfect equipment.